
Last updated October 30, 2026
 Architectural shingles
 Metal roofing
 Tile roofing
 GAF
 Owens Corning
 Flat & low-slope
Free roof inspection with deck photos before we talk money - GAF and Owens Corning certified installation
Roof Repair Troubleshooting: Common Problems and How to Fix Them
Water entering at a chimney can travel six feet along a rafter before dripping onto your ceiling. That single fact explains why most DIY patch jobs fail within one rain season. The stain you see on the bedroom ceiling is rarely where the water is actually getting in. In Fontana, where summer heat bakes roofing materials to 150 degrees and winter Santa Ana winds rip at flashing, understanding this water-travel principle is the difference between a $40 fix and a $12,000 roof replacement you didn’t need. This guide breaks down the six most common roof failure types, how to identify each one by its visual signature, and when a repair is genuinely enough. You’ll learn to read your roof the way we do.
Quick Answer
The most common roof problems are flashing failures, broken or missing field shingles, cracked pipe boot gaskets, worn ridge caps, skylight seal breakdowns, and valley channel leaks. Each has a distinct visual signature that tells you whether you’re dealing with a material failure, an installation defect, or a maintenance issue. In Fontana, flashing and pipe boot failures account for the majority of roof leaks we see, and most can be repaired without replacing the entire roof.
Styles & brands we work with
Table of Contents
- The Water-Travel Principle: Why Your Leak Isn’t Where You Think It Is
- Flashing Failures: The Most Common Culprit
- Field Shingle Damage: Blistering, Cracking, and Granule Loss
- Pipe Boots and Vent Collars: Small Part, Big Problems
- Ridge Caps and Hip Caps: The Overlooked Failure Point
- Skylight Seals: When the Problem Is the Curb, Not the Glass
- Valley Channels: Where Two Roof Planes Meet Trouble
- Material Failure vs. Installation Defect vs. Maintenance Issue
- Tools for a Legitimate Homeowner Inspection
The Water-Travel Principle: Why Your Leak Isn’t Where You Think It Is
Water doesn’t fall straight down when it enters a roof. It follows gravity along the path of least resistance, which usually means running along the underside of sheathing, down a rafter, or along a truss member until it hits something that forces it to drip. That something could be a nail, a seam in the plywood, or a junction box. By the time you see a stain on your ceiling, the actual entry point could be three to eight feet away in any direction.
Here’s how to trace it. Start at the visible stain on your ceiling and go up into the attic if you have access. Look at the underside of the roof deck directly above the stain. If it’s dry, the entry point is higher up the slope. Follow the rafter or sheathing seam upward, looking for dark streaks or water tracks. In Fontana’s climate, where we get long dry stretches between heavy winter rains, those tracks often stay visible as gray or brown lines on the wood long after the water has dried. They’re essentially a map of where water has traveled.
The slope of your roof matters too. On low-slope or nearly flat sections, water moves slowly and spreads out, making the stain larger but the entry point closer to the visible damage. On steep pitches, water moves fast and travels farther. A chimney leak on the north side of a Fontana house with a 6:12 pitch can show up as a ceiling stain near the south wall, six or seven feet away. If you patch the ceiling stain without finding the entry point, you’ll be patching again after the next storm.
Flashing Failures: The Most Common Culprit
Flashing is the metal material that seals the joints where your roof meets something else: a chimney, a wall, a dormer, a skylight curb, or a valley. It’s made from galvanized steel, aluminum, or copper, and it’s the most common source of roof leaks in Fontana because our temperature swings are brutal on metal. Metal expands and contracts with every hot day and cool night. Over a decade, that repeated movement works the flashing loose from its sealant and, eventually, from the roof itself.
Here’s what flashing failure looks like from the ground or a ladder:
- Rust or corrosion on exposed metal edges. Galvanized flashing in Fontana’s dry climate lasts longer than in humid coastal areas, but it still oxidizes over time.
- Lifting or curling at the edges where flashing meets shingles or masonry. You’ll see a gap where sealant used to be.
- Cracked or missing caulk at the junction points. Old caulk dries out, shrinks, and develops hairline cracks that let water wick inside.
- Dark staining on the chimney or wall just below the flashing line. That indicates water is running behind the flashing instead of over it.
Chimney flashing is particularly prone to failure because it has multiple pieces: base flashing, step flashing, counter-flashing, and a saddle or cricket on the uphill side. If any single piece fails, water gets in. The fix is usually a flashing replacement or reseal, not a roof replacement. A roofer who tries to sell you a full new roof because of a chimney leak is either not looking closely or not being straight with you. We’ve repaired hundreds of flashing failures in Fontana where the rest of the roof was completely sound.
One thing to know: flashing repair requires careful work. The metal has to be cut, bent, and sealed correctly, and the surrounding shingles need to be lifted without breaking them. It’s not a caulk-and-hope job. If you’re going to attempt a temporary fix from a ladder, a high-quality urethane sealant applied cleanly to the visible gap will hold for a season. But the real fix involves removing and replacing the flashing, which is a job for someone who works roofs every day.
Field Shingle Damage: Blistering, Cracking, and Granule Loss
Your field shingles are the main body of the roof, the shingles that cover the broad slopes between edges, ridges, and penetrations. In Fontana, we see three specific types of field shingle failure more often than anything else: heat blistering, wind damage, and granule loss. Each has a different cause and a different implication for repair versus replacement.
Heat blistering is what it sounds like: small bubbles or raised spots on the shingle surface, usually in areas that get direct afternoon sun. Fontana routinely hits triple digits in summer, and dark shingles absorb that heat. When the asphalt within the shingle overheats, it expands and forms blisters. Small blisters are cosmetic. Large blisters that pop leave exposed asphalt underneath, which shortens the shingle’s life. If you see a field of popped blisters across a large section, those shingles are nearing end of life.
Wind damage shows up as lifted shingles, missing shingles, or shingles that have “flapped” and cracked at the bend line. Santa Ana winds in Fontana regularly gust over 60 mph. If you see shingle tabs standing up or folded back, the adhesive seal has failed. One or two lifted shingles is a repair job. A roof where most of the shingles have lost their adhesive bond is a replacement candidate, regardless of how the shingles look from the ground.
Granule loss is the steady shedding of the tiny ceramic pellets embedded in the shingle surface. They protect the asphalt from UV damage. You’ll see them collecting in gutters or at the base of downspouts. Some granule loss is normal, especially on a new roof. Excessive granule loss means the shingle is aging out or was defective from the factory. The “bald” spots you see are where the asphalt is now exposed and degrading.
Here’s the repair-versus-replace math for field shingles: if less than 15% to 20% of your shingles are damaged and the roof is under 10 years old, spot repair makes sense. If damage is concentrated but scattered widely, or if the shingles are brittle enough to crack when lifted, that’s a stronger argument for replacement. When we inspect a Fontana roof with field shingle issues, we document exactly what percentage of the field is affected and give you a repair quote and a replacement quote side by side. The roof repair in Fontana route should never be removed from the table by a contractor who only wants to sell replacements.
Pipe Boots and Vent Collars: Small Part, Big Problems
A pipe boot, sometimes called a vent boot or plumbing boot, is the rubber or neoprene gasket that seals the gap where a vent pipe comes through your roof. It’s a $30 part. It’s also, in our experience, the single most common source of roof leaks in Fontana homes older than about eight years. The rubber gasket gets cooked by UV exposure and heat, dries out, and cracks. Water then runs straight down the outside of the pipe, through the cracked gasket, and into the attic.
Here’s what a failed pipe boot looks like:
- Visible cracking on the rubber gasket itself. If you can see cracks from eye level, it’s already leaking or about to.
- A dried, shriveled, or misshapen gasket that no longer hugs the pipe tightly.
- Water staining on the pipe in the attic, directly below the boot.
- The gasket has separated from the metal or plastic base ring.
The fix is straightforward: the old boot is removed, a new one is slipped over the pipe and sealed, and the surrounding shingles are resealed. It’s a one-hour repair for a roofer using the correct materials. The right replacement boot uses a synthetic rubber compound that holds up better under Fontana’s UV exposure than the original manufacturer boot. Brands like GAF and CertainTeed make replacement boot assemblies designed exactly for this, and they’re what we use on most pipe boot replacements.
One word of caution if you’re thinking about doing this yourself: getting to a pipe boot usually means working on a sloped roof, and cracking old sealant around the boot is exactly where DIY repairs go wrong. If you create a gap and don’t seal it correctly, you’ve made the leak worse, not better. A pipe boot replacement is cheap enough that the professional repair usually costs less than what you’d spend collecting the right materials and risking a fall.
Ridge Caps and Hip Caps: The Overlooked Failure Point
Your ridge caps are the shingles that run along the peak of your roof, and hip caps do the same job along the angled hips of a multi-plane roof. They’re smaller than field shingles, they’re bent over the top edge, and they get hit with sun from every angle all day long. In Fontana, ridge caps often fail before field shingles do, because they’re the most UV-exposed part of the entire roof.
Here’s what ridge cap failure looks like:
- Cracked or broken cap shingles at the peak or along the hips, especially on the south and west exposures.
- Missing cap shingles after a wind event. Ridge caps take the brunt of Santa Ana gusts because they sit at the highest point with the least wind deflection.
- Exposed fasteners or nail heads visible on top of the caps. Nails should never be exposed on a properly installed ridge cap.
- Dark staining running down from the peak line, indicating water is getting under the caps.
Ridge cap repair is usually a spot job: remove the damaged caps, check the underlying seal, and install new cap shingles. If the caps are failing across the entire peak, that’s a signal the whole roof is in the later stages of its service life. But failed ridge caps alone don’t mean a new roof. We’ve replaced complete ridge lines on Fontana homes where the field shingles still had years of life left, and that repair gave the whole roof several more seasons.
When you’re evaluating ridge caps, pay attention to the sealant under the caps too. Many Fontana roofs from the 1990s and early 2000s used a sealant that dries out in our climate. The caps look fine from the ground, but they’ve lost their adhesion and lift off in the first big wind. The repair is simple: lift, remove old sealant, apply fresh sealant, and press the caps back down. It’s an afternoon job that prevents the kind of widespread cap loss that leads to interior damage.
Skylight Seals: When the Problem Is the Curb, Not the Glass
Almost every skylight leak in Fontana comes from the curb or the flashing around it, not from the glass unit itself. Skylights sit in a box, called a curb, that’s built up from the roof decking and covered with flashing. That flashing seals to the roof. Over time, the flashing separates, the sealant dries out, or the curb’s waterproof membrane degrades. Water gets in at the flashing line, runs down the outside of the curb, and shows up inside as a drip or stain directly below the skylight.
Here’s how to tell the difference between a glass leak and a curb leak:
- Locate the stain or drip. If it’s in the center of the skylight opening, it might be the glass seal. If it’s at the edge or corner of the opening, it’s almost certainly the curb or flashing.
- Check the visible sealant around the skylight frame from the exterior. Cracks, gaps, or pulled-away sealant are the smoking gun.
- Look for water staining on the ceiling drywall around the skylight opening. Stains that spread outward from the corners indicate curb flashing failure.
- Inspect the skylight’s interior frame. If you see water beading on the inside surface of the glass, that’s condensation, not a leak. In Fontana’s dry climate, condensation on interior glass is rare, which makes it easier to rule out.
Skylight curb repairs usually involve either resealing the flashing or removing and replacing it entirely. It’s meticulous work because the seal has to be perfect in four directions, and any gap in the sealant creates a new leak path. If the skylight itself is old and fogged between the panes, replacement of the entire unit is usually the better call, and that’s a conversation about roof replacement in Fontana in the sense that the skylight gets replaced as part of a larger roofing project. But a healthy skylight with a failed curb is almost always a repair, not a replacement.
Valley Channels: Where Two Roof Planes Meet Trouble
A valley is the V-shaped channel where two roof planes meet, and it handles more water flow than any other part of your roof. In a heavy Fontana winter storm, a valley on a modest house can channel hundreds of gallons per minute. Valleys fail when the flashing beneath the shingles deteriorates, when shingles in the valley are installed incorrectly, or when debris accumulates and forces water sideways instead of down.
There are three common valley configurations: open valleys, where the metal channel is exposed; woven valleys, where shingles are interwoven across the channel; and closed-cut valleys, where shingles from one plane overlap the other plane along the valley line. Each has a different failure signature.
An open valley fails when the metal channel itself rusts through or when the edges of the metal separate from the shingles. You’ll see patches of rust, holes, or lifting at the seams. A woven valley fails when the woven shingles develop weak points at the weave line, often from thermal cycling. A closed-cut valley fails when water gets under the cut edge of the overlapping shingles, usually because the cut line was done incorrectly or the shingles have lifted.
Here’s what to look for in any valley:
- Debris accumulation. Leaves, pine needles, and dust build up in the valley channel, holding moisture against the shingles and flashing.
- Rust or corrosion on exposed metal in open valleys. This is the most obvious sign, and the most serious if the metal has rusted through.
- Lifted or loose shingles along the valley edges. Any gap in a valley is a direct water entry point.
- Dark staining or moss growth in the valley line, indicating that moisture is sitting there longer than it should.
Valley repairs depend on the extent of the damage. A small rust patch in an open valley can sometimes be patched with a metal patch and sealant. A valley that has rusted through or has multiple loose shingles needs the valley rebuilt, which means removing and replacing the affected section. We’ve seen Fontana homeowners ignore valley problems for years because they’re hard to see from the ground, only to have a heavy rain year cause significant interior damage. The roof inspection in Fontana is the right way to assess valley condition, especially if your house has multiple roof planes.
Material Failure vs. Installation Defect vs. Maintenance Issue
Every roof problem falls into one of three categories, and knowing which one you’re dealing with changes everything about the fix. Getting this wrong is how homeowners end up paying for a new roof when they needed a repair, or paying for a repair when they actually have a systemic installation problem.
Material failure happens when the roofing product itself degrades before its rated service life. In Fontana, this usually shows up as premature granule loss on shingles, cracking rubber pipe boots, or corrosion on flashing. The product just didn’t hold up. When we see this, we know the fix may involve better materials. This is where having access to multiple manufacturers matters. A homeowner with a prematurely failed brand-A shingle isn’t well served by a roofer who only sells brand-A. We source from GAF, CertainTeed, IKO, Atlas, Tamko, and Boral, and we’ve seen enough of each to know which ones perform better in Fontana’s specific conditions.
Installation defects show up because the original roofer made an error. Common ones we find in Fontana: misaligned valley cuts, nails placed too high on shingles (they don’t seal properly), inadequate flashing at chimneys, and ridge caps installed without proper sealant. Installation defects tend to show up early, often within the first three to five years, and they’re covered by workmanship warranties if the original contractor is still around. If they’re not, the repair is on you. The point is that an installation defect doesn’t mean the roof is at the end of its life; it means one part of the roof was done wrong.
Maintenance issues are problems that happen because the roof hasn’t been maintained. Clogged gutters forcing water back under shingle edges, debris sitting in valleys, tree branches scraping shingle surfaces, and moss growth in shaded areas are all maintenance issues. In Fontana’s dry climate, moss is less common than it is in coastal areas, but it does appear on north-facing slopes and in areas shaded by large trees. The fix for maintenance issues is usually straightforward: clean, clear, and reseal as needed. The important thing is to catch them before they become structural problems.
Here’s a simple way to categorize what you’re seeing: if the damage is isolated to a specific spot, it’s likely a repair. If it’s widespread across the roof, it’s likely material failure. If it’s in a pattern that repeats at regular intervals, like every rafter bay or every valley, it’s likely an installation defect. If it’s concentrated where debris collects, it’s maintenance.
Tools for a Legitimate Homeowner Inspection
You don’t need a roofer’s full truck setup to do a meaningful inspection of your own roof. But you do need more than a guess and a caulk gun. Here’s what we recommend for a Fontana homeowner who wants to actually diagnose a problem rather than just confirm that water is coming in.
For safe access: A solid extension ladder that reaches at least three feet above the roof edge, with a stabilizer bar if you have one. Never work from the roof itself if the pitch is steep enough to feel uncomfortable, and never work on a roof after rain. Fontana’s clay-tile and concrete-tile roofs are especially unforgiving if you step in the wrong place, and a broken tile can turn a minor leak into a major repair. If you’re not sure, stay on the ladder or call someone who has the right equipment.
For finding leaks: A bright flashlight for attic work, and it should be a real flashlight, not a phone light. Look for water staining on sheathing, dark streaks on rafters, and any daylight poking through. A moisture meter is a useful tool if you have one, but a careful visual inspection will find most active and recent leaks.
For documenting: A camera or phone with a good zoom is essential. Photograph everything: the visible damage, the surrounding area, the interior stain, the attic view from directly below. If you end up calling a roofer, those photos save time and give us a head start on the diagnosis. They’re also helpful for insurance claims if you end up filing one.
For temporary fixes: A high-quality urethane sealant in a caulk tube, a roll of aluminum flashing tape, and a disposable brush for cleaning the spot before you seal it. These are for emergency hold-fixes only. A temporary patch buys you time to get a professional assessment, but it’s not a repair. A patch that fails during the next Fontana rain storm is just a leak with extra steps.
If your inspection means walking the roof, wear soft-soled shoes, check the weather forecast for wind, and never work near power lines. Fontana has overhead service drops running to most homes, and they’re closer to the roof than most people realize.
Common Mistakes to Avoid
- Patching the ceiling stain instead of the roof. The stain is the exit point, not the entry point. Fixing drywall doesn’t stop water from coming in, and the next storm will just create a new stain next to the old patch.
- Using cheap sealant on a roof that hits 150 degrees. Fontana summer heat breaks down most hardware-store caulks within one season. If you’re sealing anything on your roof, use a sealant rated for high temperature and UV exposure.
- Caulking over failed flashing without lifting the shingles. Flashing leaks happen underneath the shingles, not just on top. Surface caulk seals the visible gap but leaves the hidden gap open.
- Assuming a roof leak means you need a new roof. Most leaks in Fontana are repairable, and a contractor who skips the repair conversation and jumps straight to replacement is not doing an inspection, they’re doing a sales call.
- Ignoring a small stain because it doesn’t seem urgent. Roof leaks don’t fix themselves. The water that’s getting in now is working on your sheathing, your insulation, and eventually your framing. Every month of delay makes the eventual repair more expensive.
- Walking on a tile roof without knowing where the load-bearing areas are. Clay and concrete tiles crack from the wrong footstep. A cracked tile is a new leak you didn’t have before your inspection.
- Replacing shingles with whatever’s on sale at the home store. A mismatched shingle repair actually decreases the value of the remaining roof because the color and dimensional profile won’t blend. This is where having access to the right manufacturers matters, brands like Tamko and CertainTeed produce specific color lines that match existing roofs.
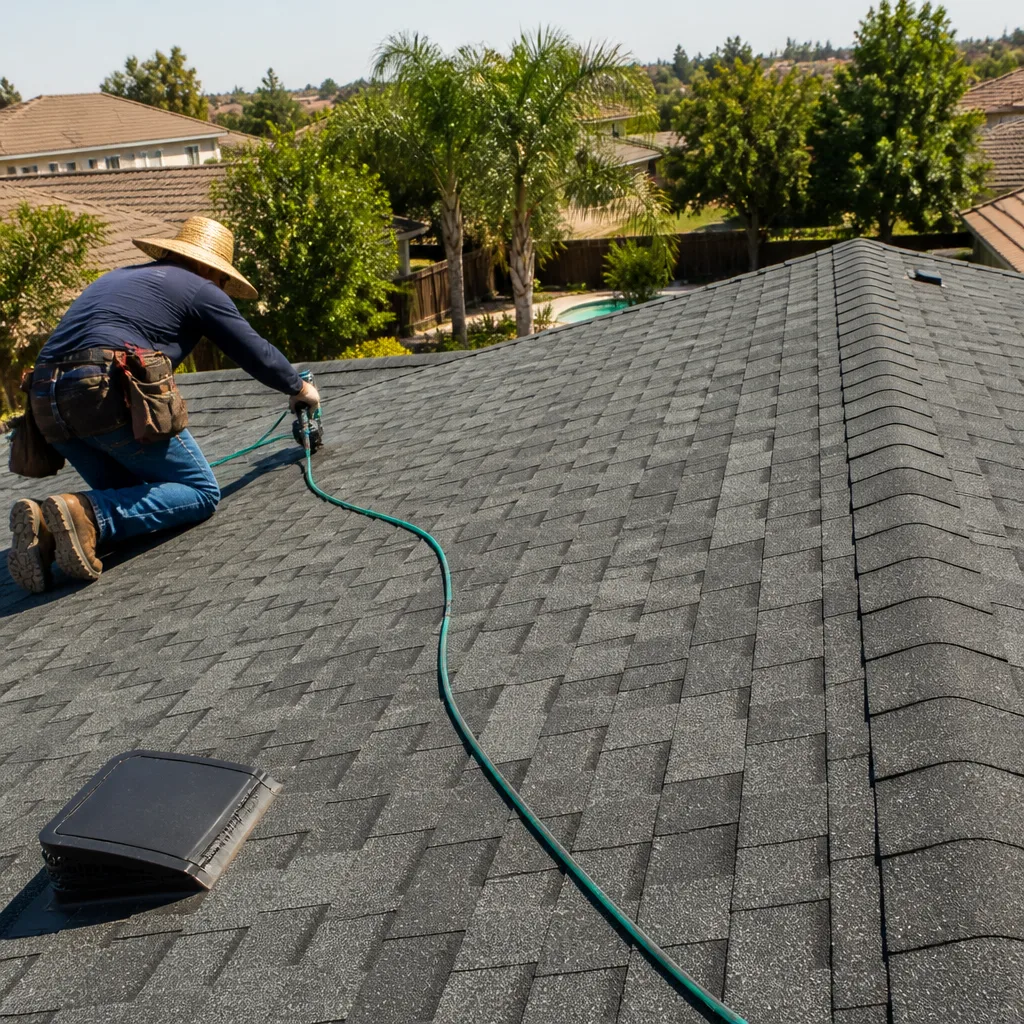
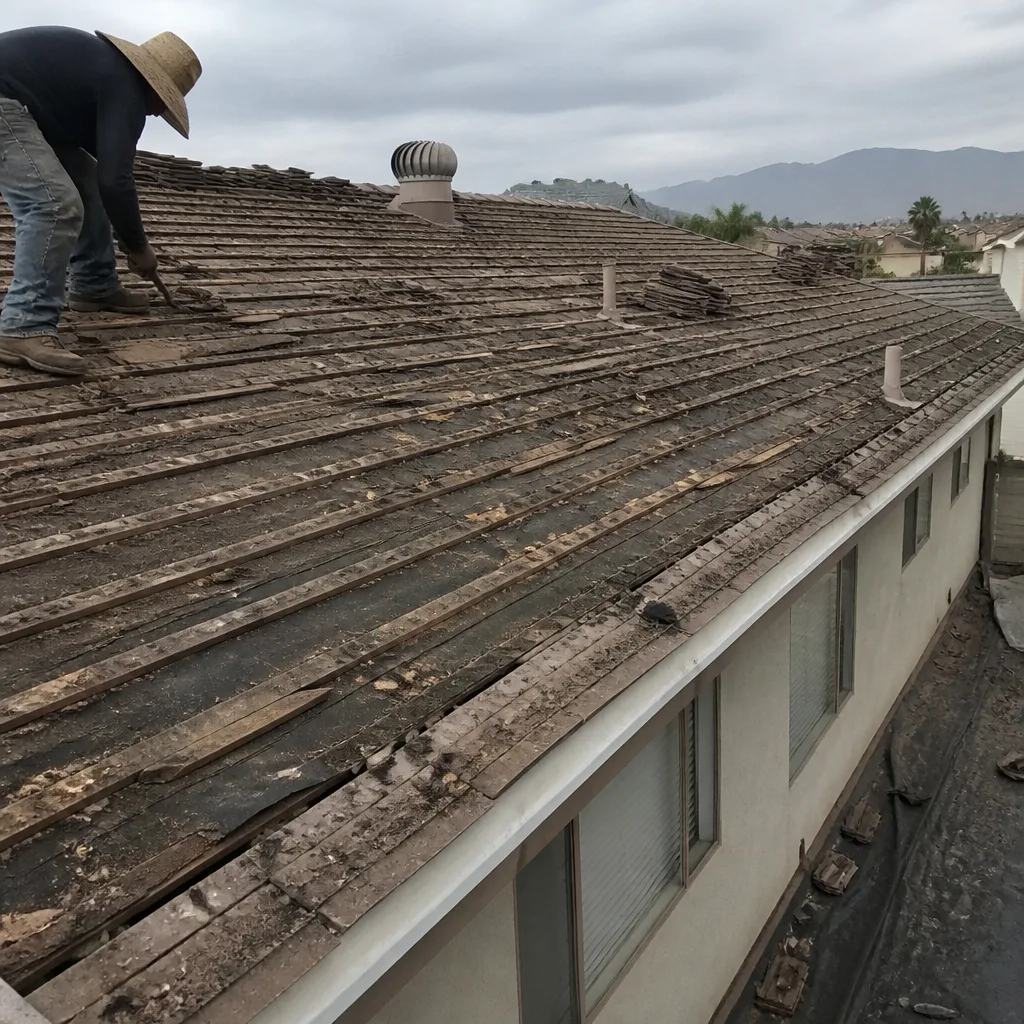
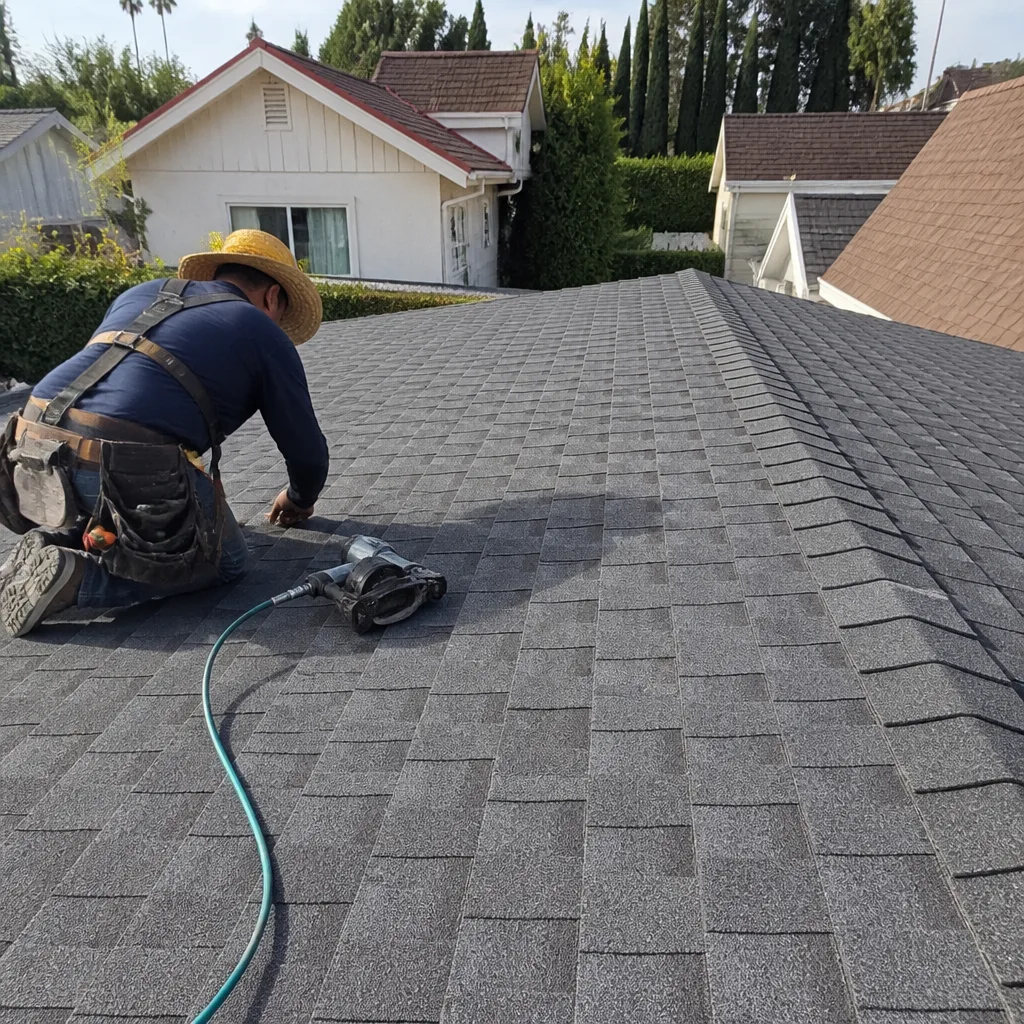
See the difference
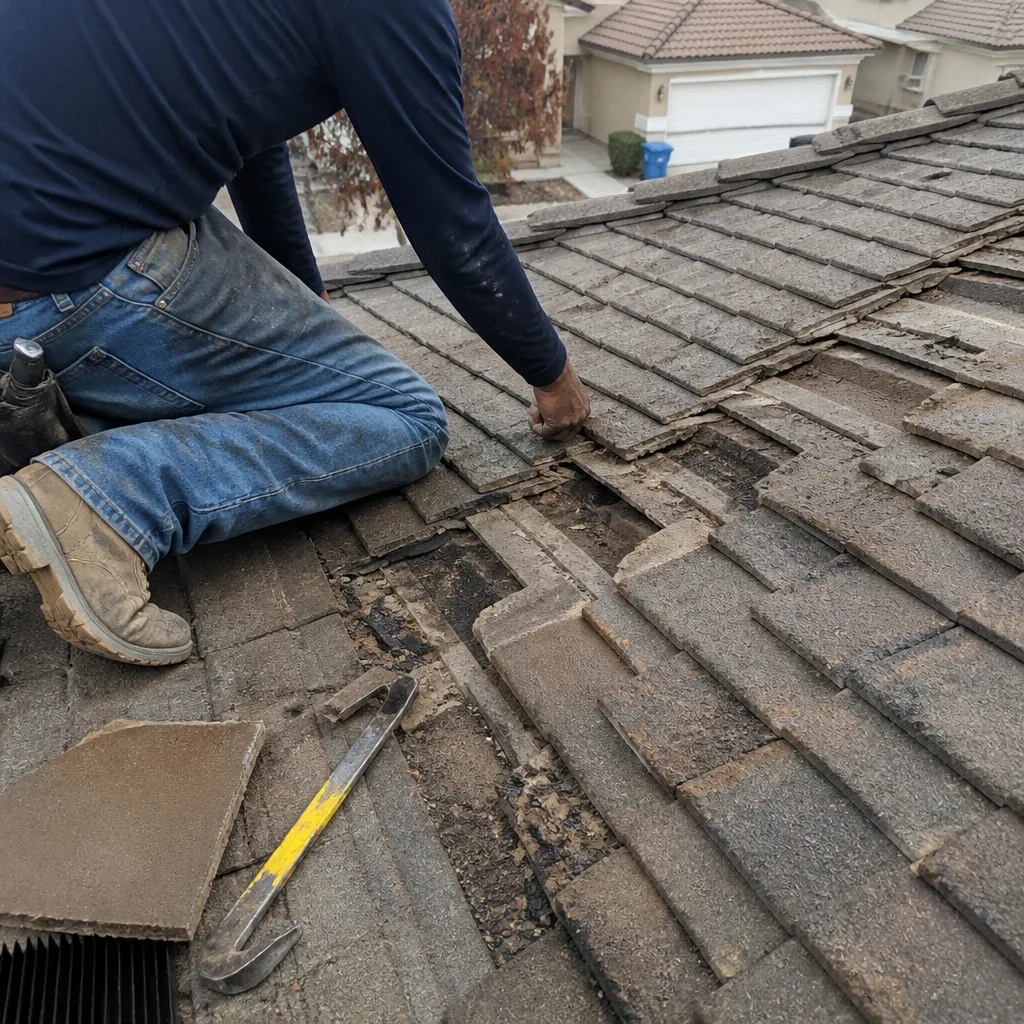 Before
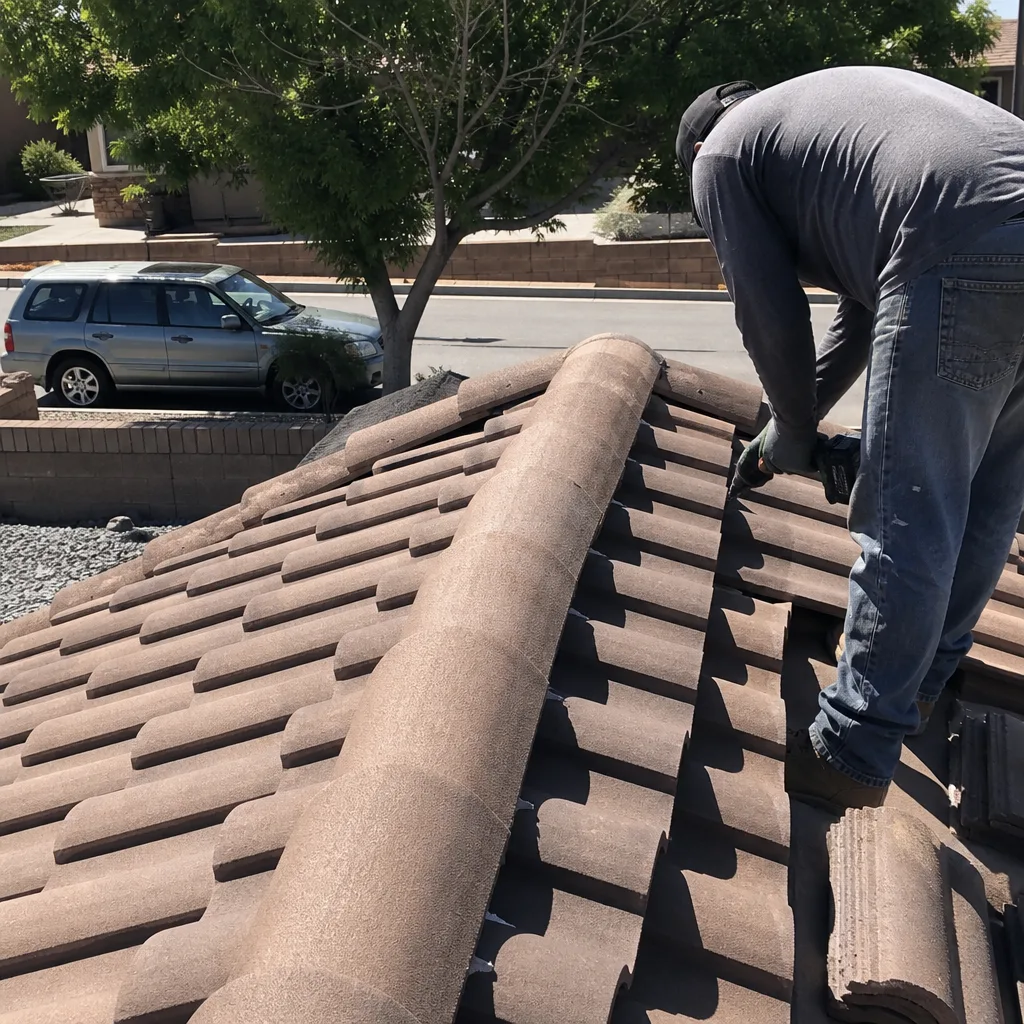 After
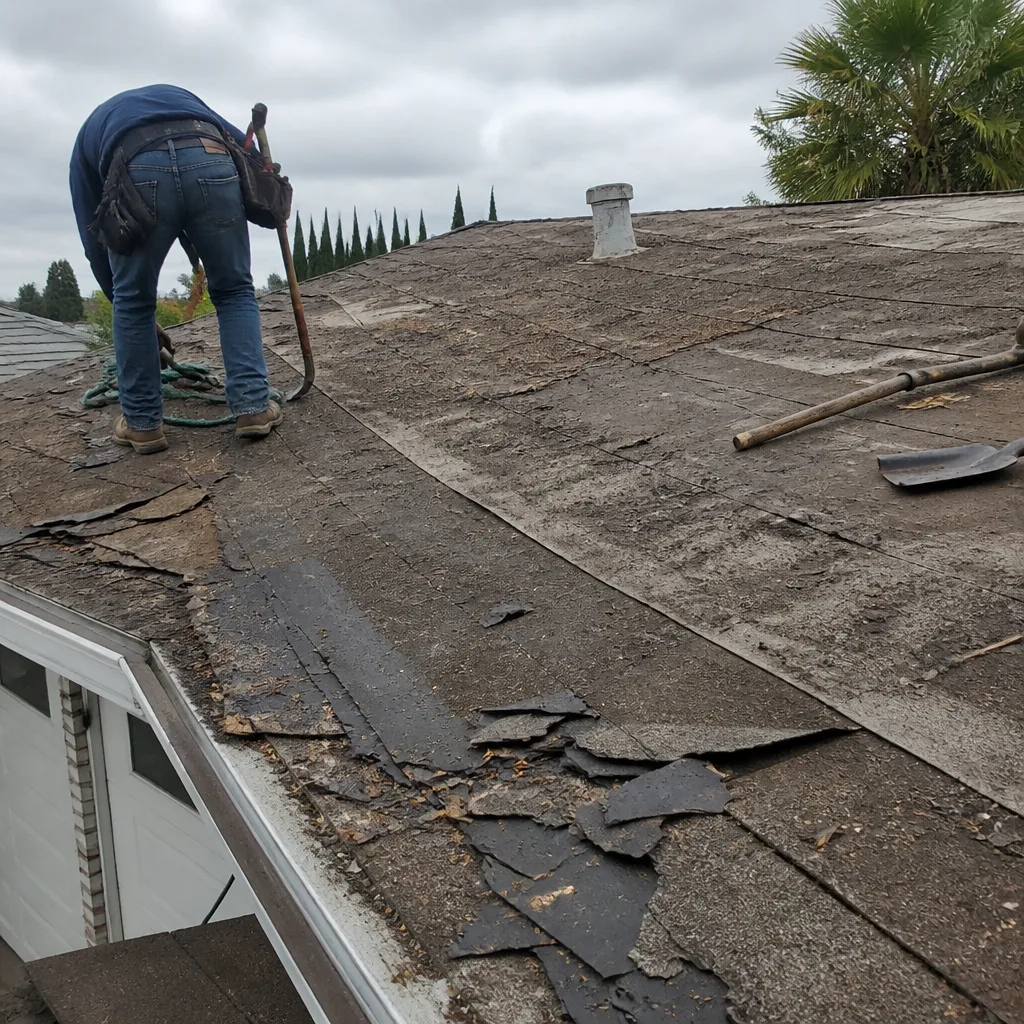 Before
 After
 Before
 After
When to Call a Professional
Call a roofer when the leak is active and you can’t confidently identify the entry point, when the damage involves flashing around a chimney or skylight, when you see multiple damaged shingles scattered across different roof planes, when the roof is too steep to walk safely, or when you’ve made a temporary patch and it’s held for a few weeks but you know it’s not a permanent fix. In Fontana, the annual dry season is the right time for a roof inspection, before the winter rains show up and turn small issues into interior leaks. Barnwood Roofing offers free estimates in Fontana. Call (855) 382-1073 to schedule one.
Frequently Asked Questions
Most roof repairs in Fontana run between $300 and $2,500 depending on the type of damage, with simple fixes like pipe boot replacements on the low end and flashing rebuilds or valley repairs on the higher end. The best way to get an accurate number is a professional inspection, because the visible damage often isn’t the full picture. Call (855) 382-1073 for a free estimate, and we’ll give you a written line item for the actual repair.
If the leak is small and you can identify the exact entry point from inside the attic, you can sometimes make a temporary fix with roofing cement or tape from underneath, but it rarely holds because water pressure builds up during Fontana’s occasional heavy downpours. Interior repairs also don’t address the root cause, which is usually at the roof surface level. Treat interior patches as emergency holds, not permanent fixes.
If damage is isolated to specific areas like one flashing point, one pipe boot, or a few missing shingles, repair is almost always sufficient. If damage is widespread across multiple areas, the shingles are brittle or severely granule-worn, or the roof is significantly past its rated service life, replacement becomes the better financial decision. A roof inspection in Fontana gives you the documentation to make that call based on evidence, not on a sales pitch.
Your roof leaks only during heavy rain because the water volume overwhelms a partial barrier, whether that’s a small flashing gap, a cracked pipe boot, or a valley that’s not channeling water fast enough. Light rain runs off quickly without finding the gap. Heavy rain flows in sheets, and any weak point gets saturated. These intermittent leaks are still leaks, and they’re doing continuous damage even between rain events.
Most common repairs like pipe boot replacements, small flashing fixes, and individual shingle replacements take between one and three hours once the materials are on hand. Valley rebuilds, large flashing projects, and repairs involving multiple roof penetrations typically take a full day. Weather plays a role too; we schedule outdoor repair work around Fontana’s dry season whenever possible.
Homeowners insurance typically covers roof repairs when the damage is caused by a sudden, accidental event like a windstorm or a falling tree, and doesn’t cover gradual wear and tear, aging, or maintenance neglect. Fontana homeowners dealing with Santa Ana wind damage often have a stronger insurance claim than those with slow leaks from old flashing. Documentation is key: photos of the damage, the date of the event, and a professional assessment all help with the claims process.
The Bottom Line
The most common roof problems in Fontana are flashing failures, pipe boot cracks, field shingle damage, ridge cap deterioration, skylight curb leaks, and valley channel issues. Each has a distinct visual signature, and most are repairable without a full roof replacement. The water-travel principle is the key diagnostic tool: the stain on your ceiling is rarely above the actual leak. Learning to read stain patterns and trace water paths changes the whole conversation with any contractor, including us. If you’re ready for a straight answer about what your roof actually needs, Barnwood Roofing home offers roof repair in Fontana, roof replacement, and roof inspection as separate, honest services. Call (855) 382-1073 for a free estimate.
Written by the team at Barnwood Roofing, serving Fontana since 2013.